The master bathroom concept came very easy to me, but the details took a painfully long time to finalize. I was basically flying by the seat of my pants as things were getting installed. I hate feeling rushed on decisions, but it is SO HARD to find time to dedicate to my own project when I’m so busy 9-5+ working on everyone else’s projects. I’m lucky I work great under pressure, I have put that skill to the test during this season of life!
As a designer, there is a certain pressure to create something innovative and fresh with each new design. I’ve designed so many bathrooms that I’ve adored and would love to call my own- but I wanted something different than I had done before. It’s a bit scary to have carte blanche and know there is no one to point my finger at if I’m not happy with the results.
I went out of my comfort zone and took several risks in the master bathroom. I wanted to create an elegant, timeless, bright, spa like retreat without being too fancy. I love natural materials and the depth they add to a space. Calacatta marble has warmth and dramatic veining, but is a huge risk as a tile material. Marble is generally considered a final sale item, and you are stuck with what you get. Each lot of marble is dramatically different in both color and veining. Despite the huge risk, I decided to go with a large scale 12”x24” honed calacatta marble on the floor. I ordered 25% overage and hoped for the best.
I have never met a tile installer that truly sees my vision before installation and therefore I never leave it up to the tile installer to select which pieces of stone make the cut. When going with a natural stone tile, I highly recommend going through each box and sorting through prior to installation. I follow a similar process to a hoarding tv show… I make a pile of my favorite pieces that need to be showcased, a pile of pieces that are OK and a 3rd pile that are all rejects (can be used under the toilet, tub or vanity). Depending on the type of natural stone, I have been known to go to the extreme measures of taping out the actual footprint and labeling each tile with North/South/East/West instructions. I get extremely specific when I want the veining to continue through several tiles. It is an annoying (and filthy) process, but it pays off every time.
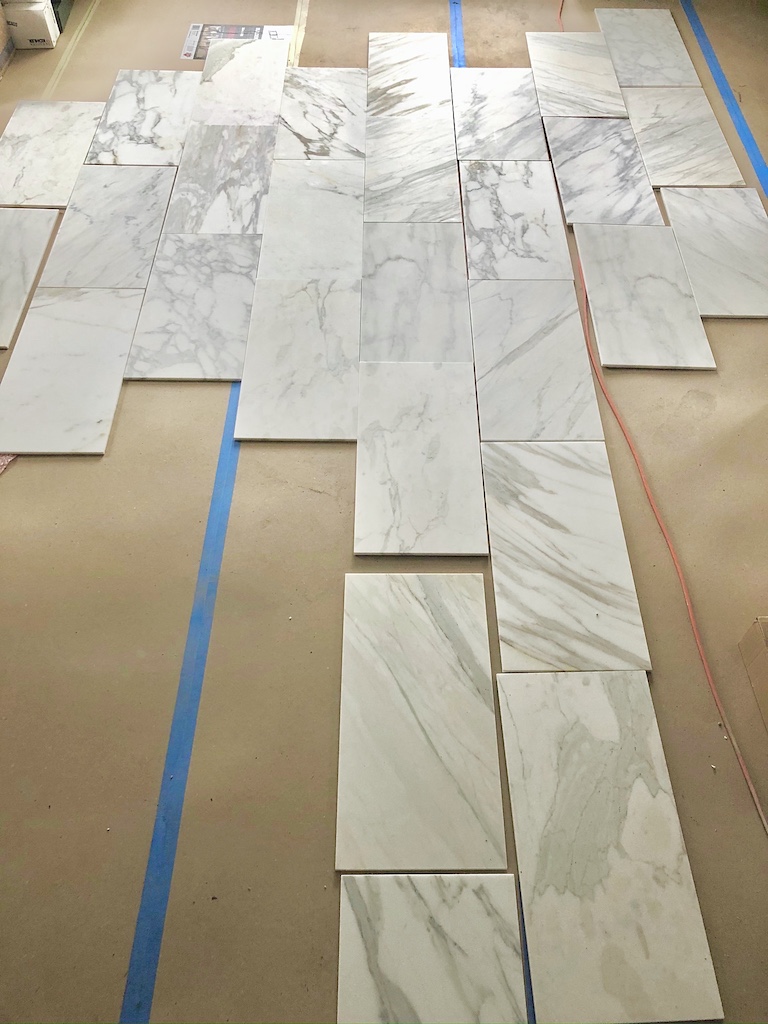
Sorting through the tile
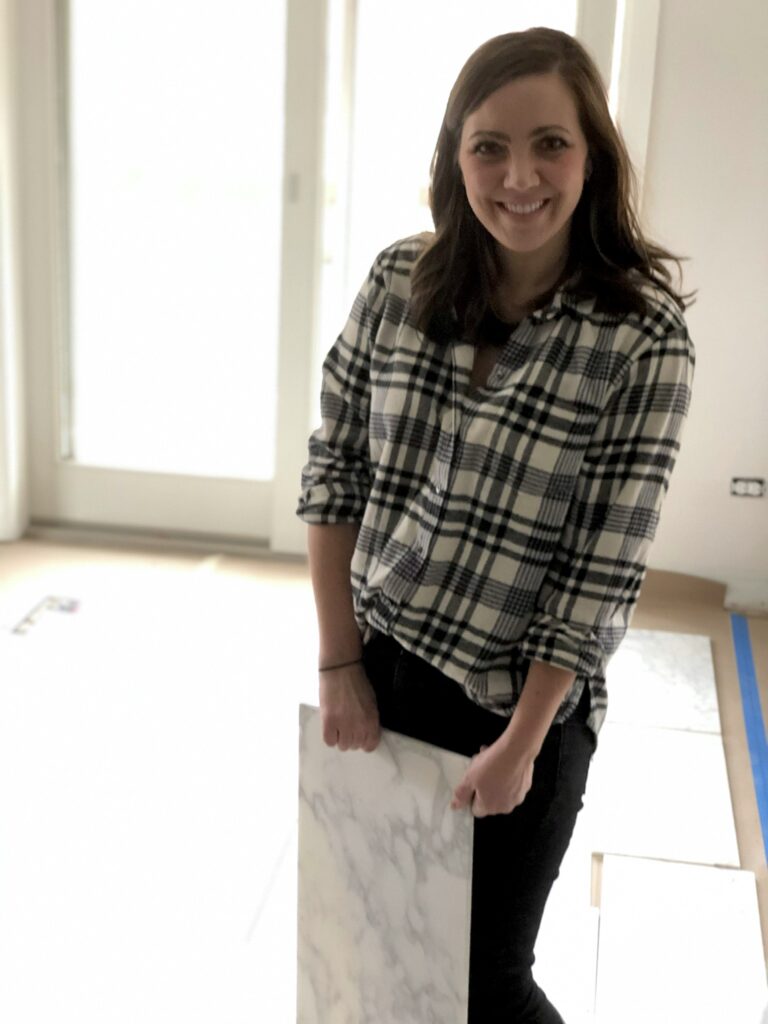
Erica sorting through the tile
Part of my vision for the space was a line of chevron that started on the floor and continued vertically onto the vanity wall. I thought this would pull your eye up and add something special to the vanity wall. Tiling the whole wall felt over the top for my style. I wanted to keep the chevron in the same calacatta material so it was subtle but still elevated the design. I searched high and low for the right size of calacatta to create the chevron with no success. I had my heart set on this chevron, so I was going to make it happen even if I had to cut the tile myself. In the end, I decided to have my countertop fabricator cut the custom chevron pieces to the perfect size on their huge machines. The pieces needed to be precise and it would have taken forever to cut each piece down individually onsite.

Creating a template for the Chevron cuts
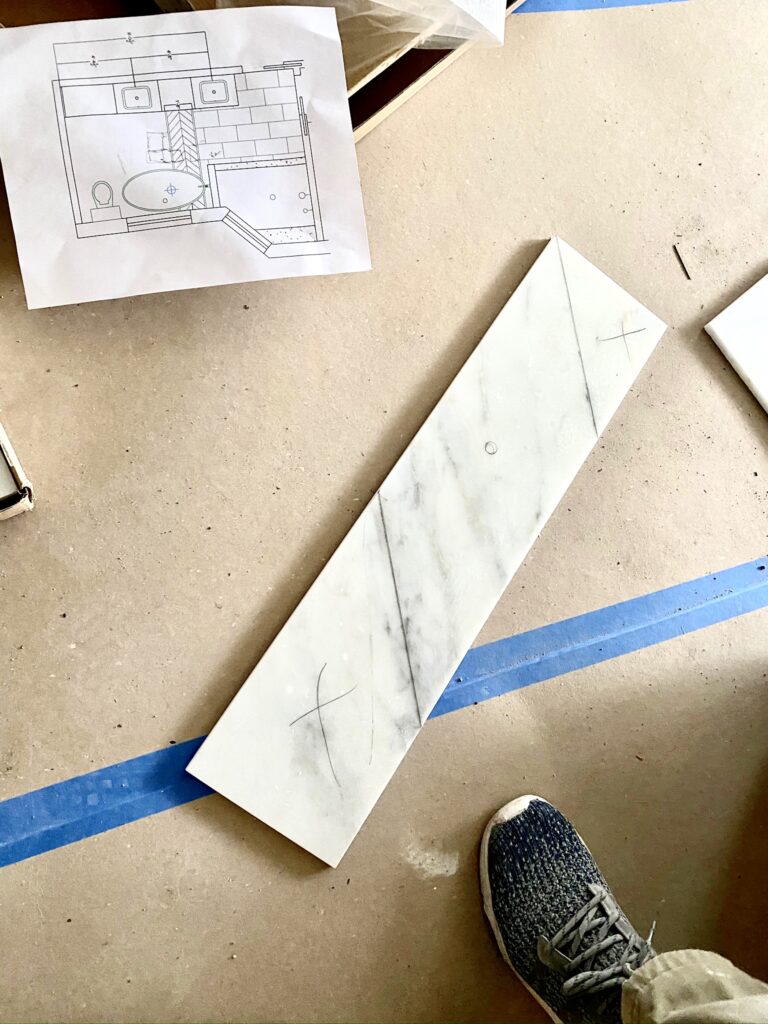
Chevron tile template
This installation was extremely complicated, and needed to be mapped out perfectly prior to starting. Getting the chevron to line up perfectly with the center of the vanity and hit the tub where I wanted on the floor took about 4,000 iterations to the design, but it was worth it.
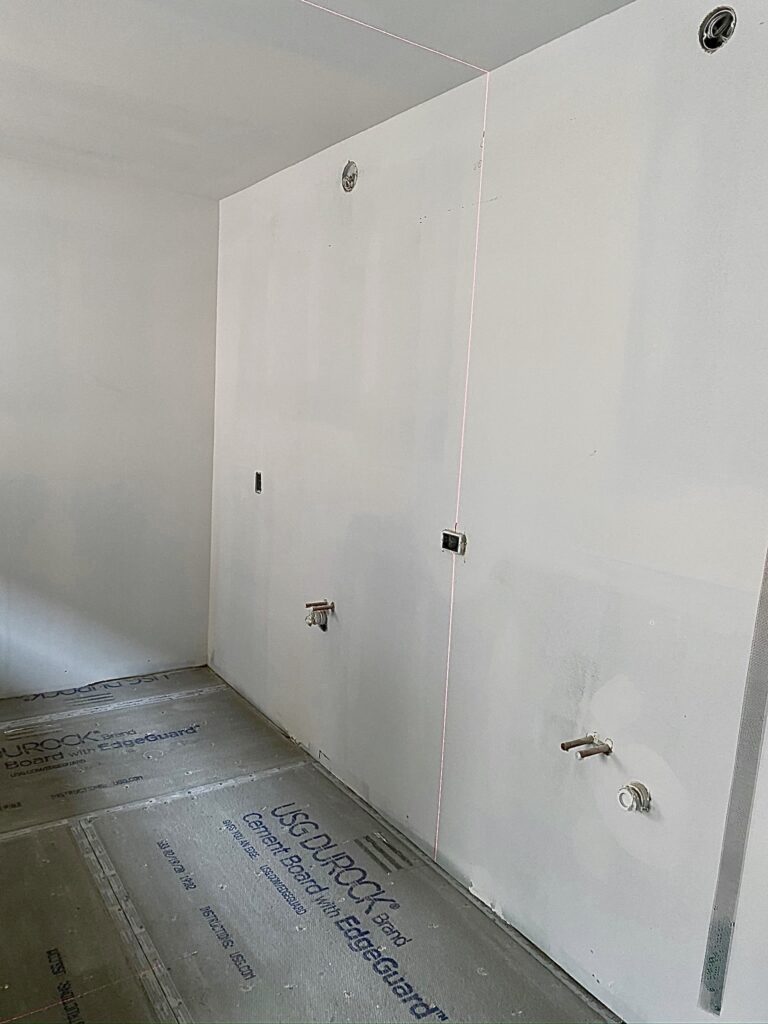
Figuring out the exact placement of the chevron detail with a laser
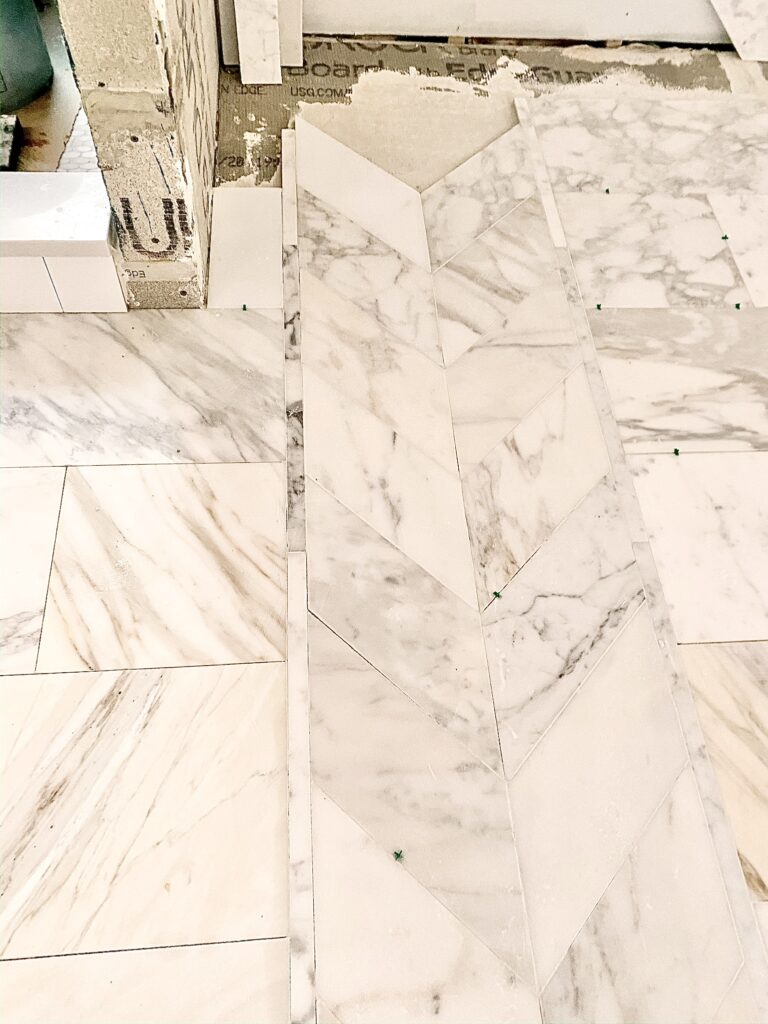
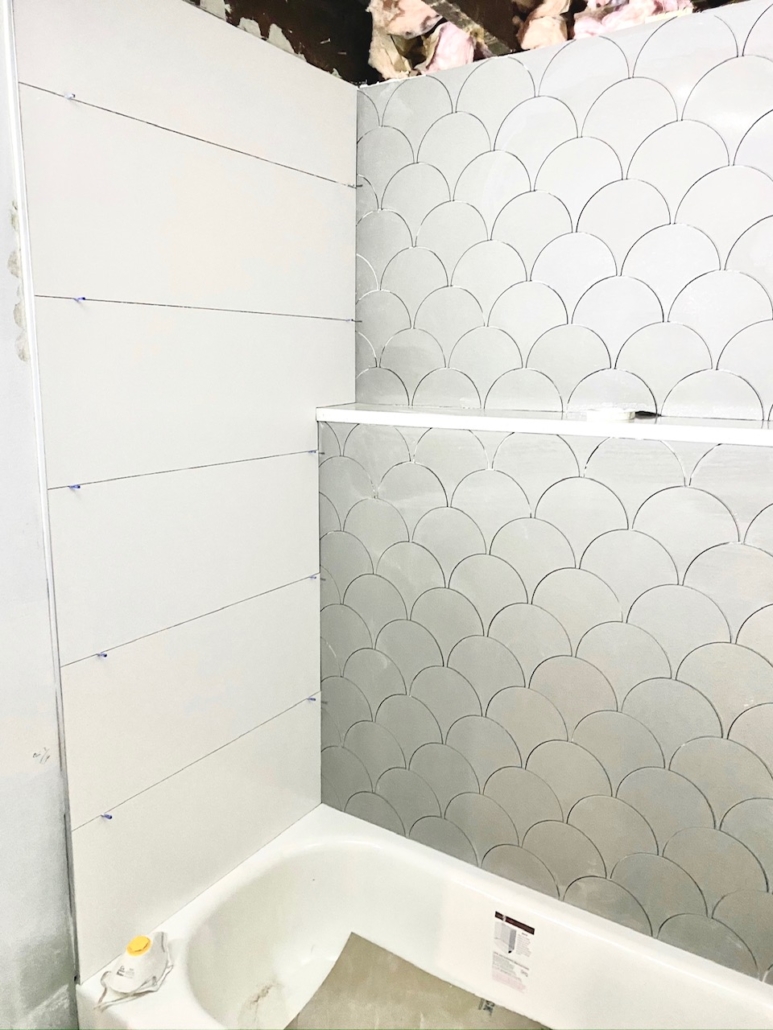
Floor tile progress
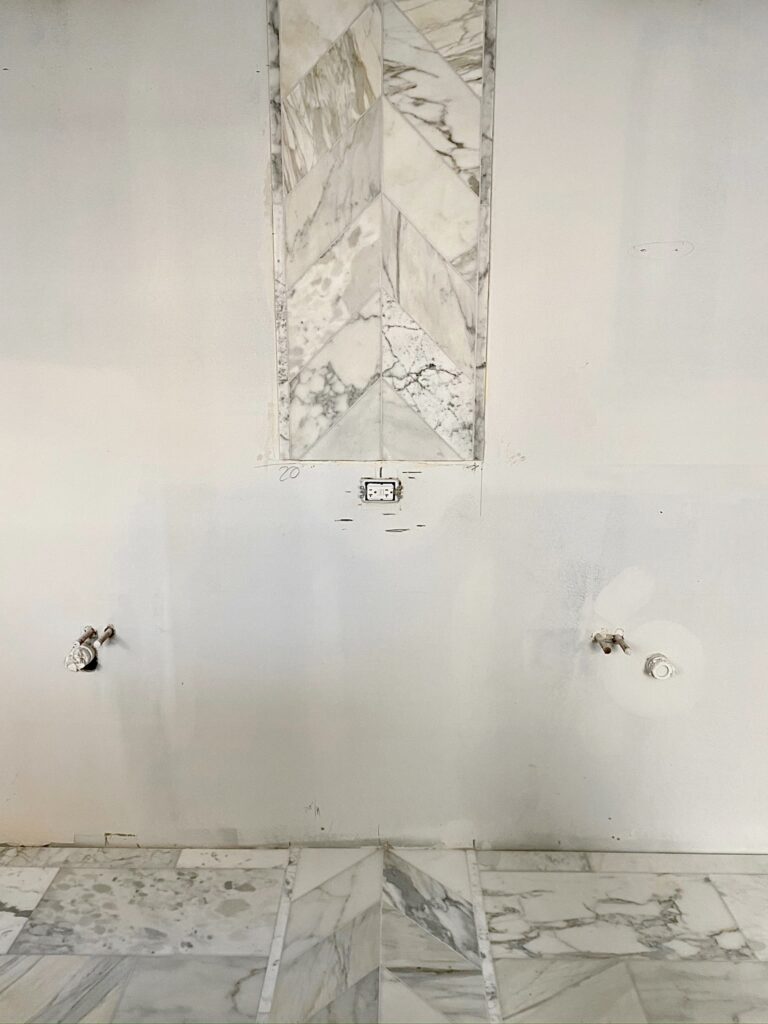
View of the chevron continuing from the floor to the wall, vertically before vanity installation
Because I’m a designer and I like to make things even more complicated (ha!), I decided that I wanted the vertical chevron accent to be flush with the drywall. This was another risk, I wasn’t really 100% sure what this would look like installed, and if they would be able to finish it to my liking. I think this risk paid off, it is such a custom look. It is such a subtle difference but I love the way it turned out.
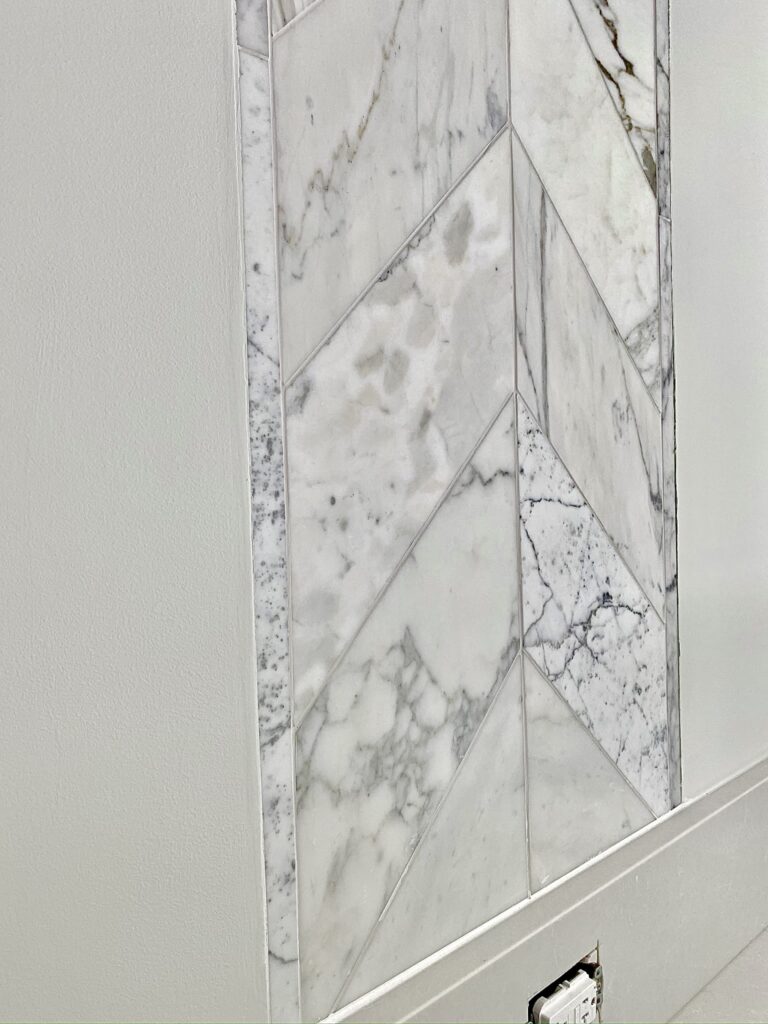
Chevron detail after installing an additional 1/4″ drywall to make it flush with the wall
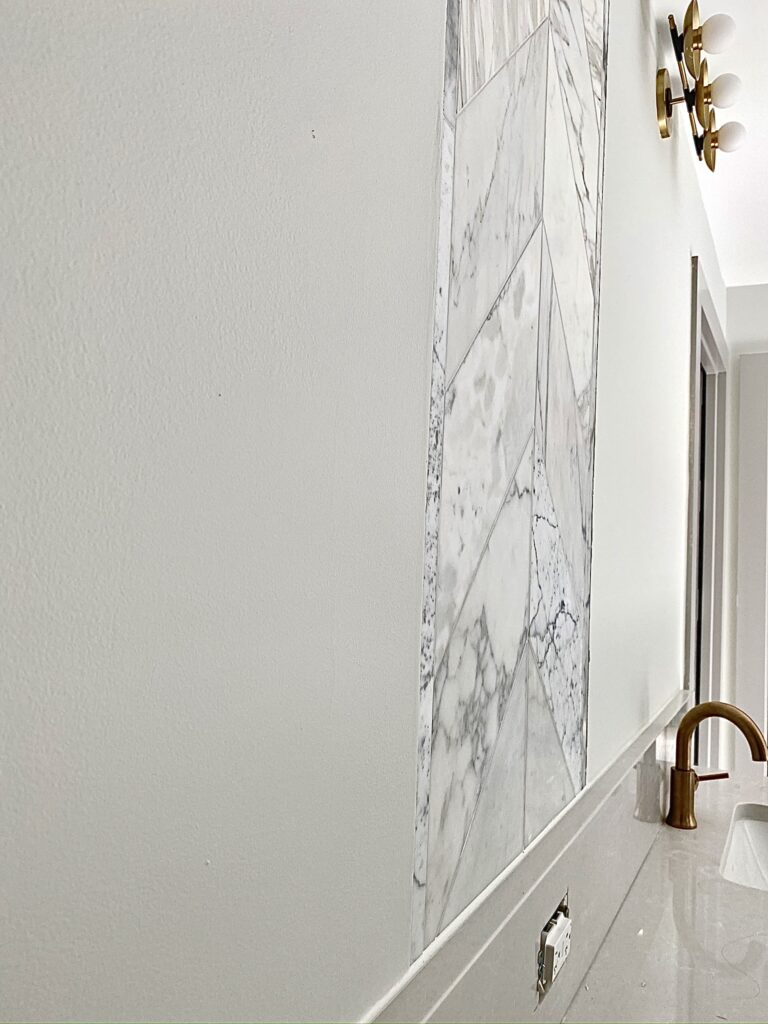
Flush chevron detail – after the cabinets and counters were installed
I went through all of the tiles individually, but made the mistake of not going through the chevron pieces after they were cut. Of course there was one piece that had to come out. It was bright white and all my eyes saw when I looked at the wall. Lesson learned!
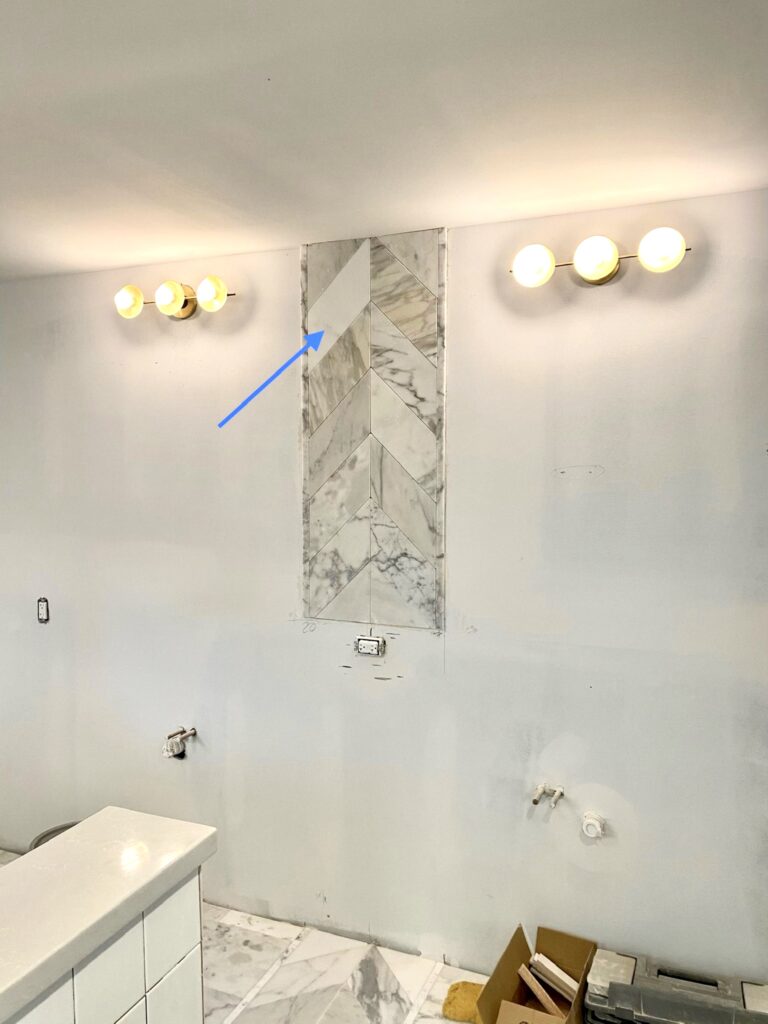
The picture I sent to my tile installer…this tile had to go
I could tell my husband, Justin, wasn’t in love with the calacatta when it was first installed. He thought it was too cold and a little busy. I was anxious as the bathroom started to come together to see if my vision would work in reality and I really wanted this bathroom to top our last bathroom.
Last week he told me that he has loved the bathroom more and more as each new finish/fixture is installed. He said each new layer adds a new dimension to the space. It felt like one of the best compliments I’ve ever received on a design, coming from my spouse. I had so much fun (and anxiety) creating this master bathroom retreat for us to share! If you need me, I will be in my new bathroom for the rest of 2020…
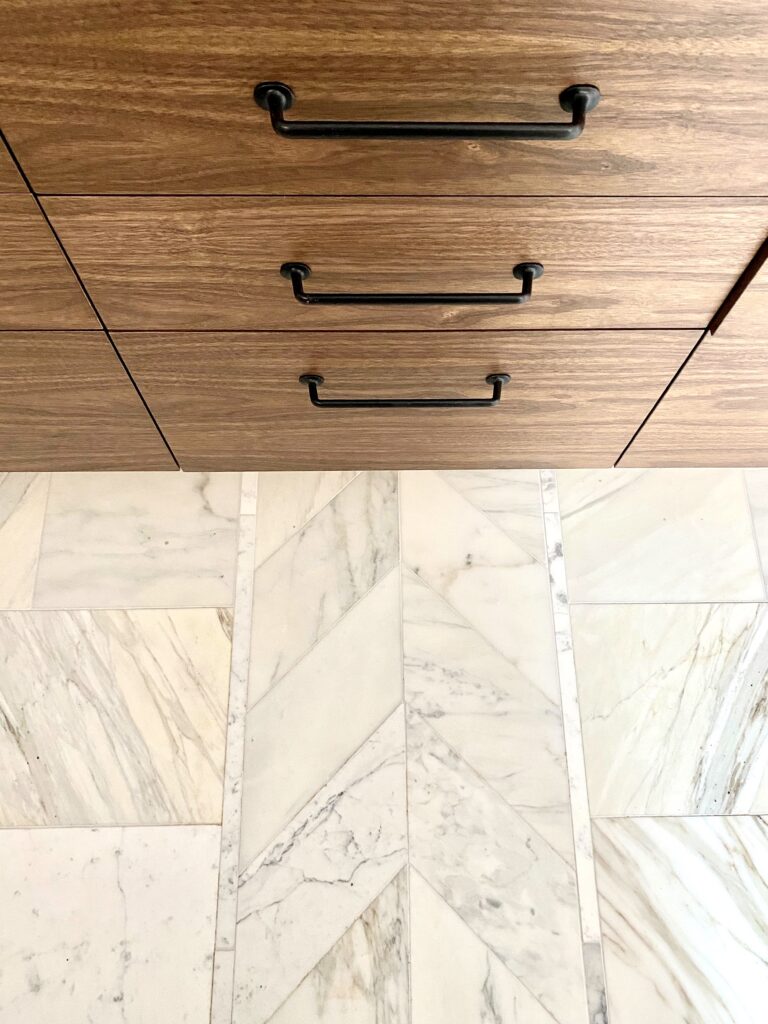
I love the contrast/warmth of the walnut combined with the calacatta marble…two of my favorite things
Tips for a marble tile bathroom:
- Always order more overage material than normal so you are able to be selective in the pieces installed (this also ensures you aren’t stuck with a different lot if you run out of tile). I recommend 25% overage while the standard is 10-15%
- Sort through the boxes prior to installation
- Don’t forget to seal your tile!
- Select a honed finish for a more casual/lived in look and polished for a more elegant look