Over the years, I’ve had a hand in replacing countless creaky, tired, dated floors with updated, fresh varieties. Personally, I’ve owned three homes, and one of the first things to be updated has always been the floors. New flooring has an uncanny ability to breathe life into a home and really transform a space.
Most recently, the original red oak wood floors at #LugbillLanding were not only dark, but they were t.i.r.e.d. The 100+ year-old home had floors with spots that were basically worn to the subfloor. In other spots, you would step on them and almost fall through the floor joists. OK – maybe that’s a bit dramatic :). Following tradition, I knew when we signed the papers to close on the house, replacing them was at the top of my priority list.
Stepping back 6 years to our family’s previous condo, on day one, we ripped out the basic, generic factory-grade engineered wood flooring, added a plywood subfloor and installed ¾” thick red oak flooring. The dark ebony stain that we went with was absolutely perfect for the condo. This time around though, the space called for something different – something lighter.
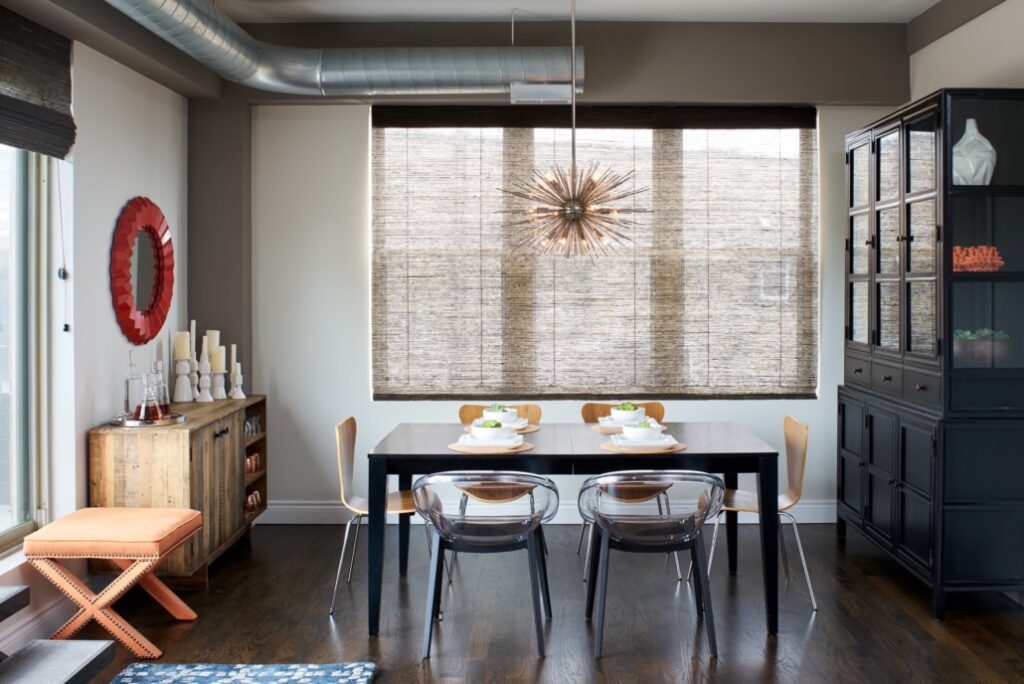
Red Oak flooring with ebony stain
Pro Tip: The Red oak wood species is a great choice if you are looking for a medium to darker tone stain. It is a durable hardwood and stains beautifully. However, when you try to stain red oak floors lighter, the pink tones are really prominent.
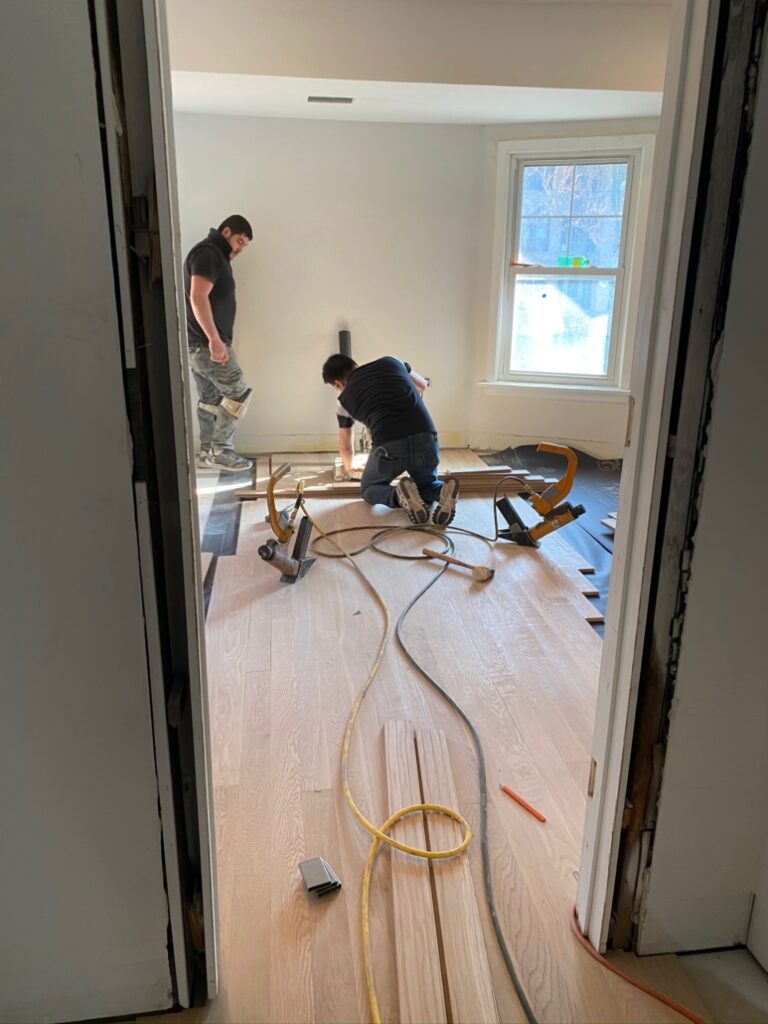
New floors being installed in the boys’ room.
When installing new flooring, I always encourage people to ensure their flooring contractor includes a minimum of 3 onsite stain samples in their bid. Although it may not seem like it, the same exact floor stain can look completely different based on the lighting and batch of wood. For LD projects, these on-site samples are a must.
Here’s a peak at the 3 combinations I was trying to decide between:

From Left to Right: Bona Birch 100%, Bona Birch/Sand Dune 50/50 mix, Bona Sand Dune 100% — the sample board on top was my original inspiration for color

Another view of stain colors
My favorite stain was the Bona Birch – no question. It was so beautiful, bright and fresh! Contrary to what you’d expect (and most people have to fight against), it isn’t always the best choice to go with their favorite stain. Despite it being the most logical thing to do on the surface, there are almost always other variables to consider. Here, my hesitation to go with my favorite stemmed from the notion that we plan (I know, I know, plans change) on staying in this home forever, and while you can refinish floors, it is a big investment, alongside it being an incredibly messy proposition. The thought of trying to live through that messy, dusty upgrade with a family in tow seemed pretty overwhelming. As a result, my gut was telling me to go with a more timeless option.
I studied the samples, putting down the other finish selections and walking around the room to get a sense of the different ways the light interacted with the stains… which is a somewhat daunting experience while the whole flooring crew stares at you, waiting for a decision so they can get on with their lives.
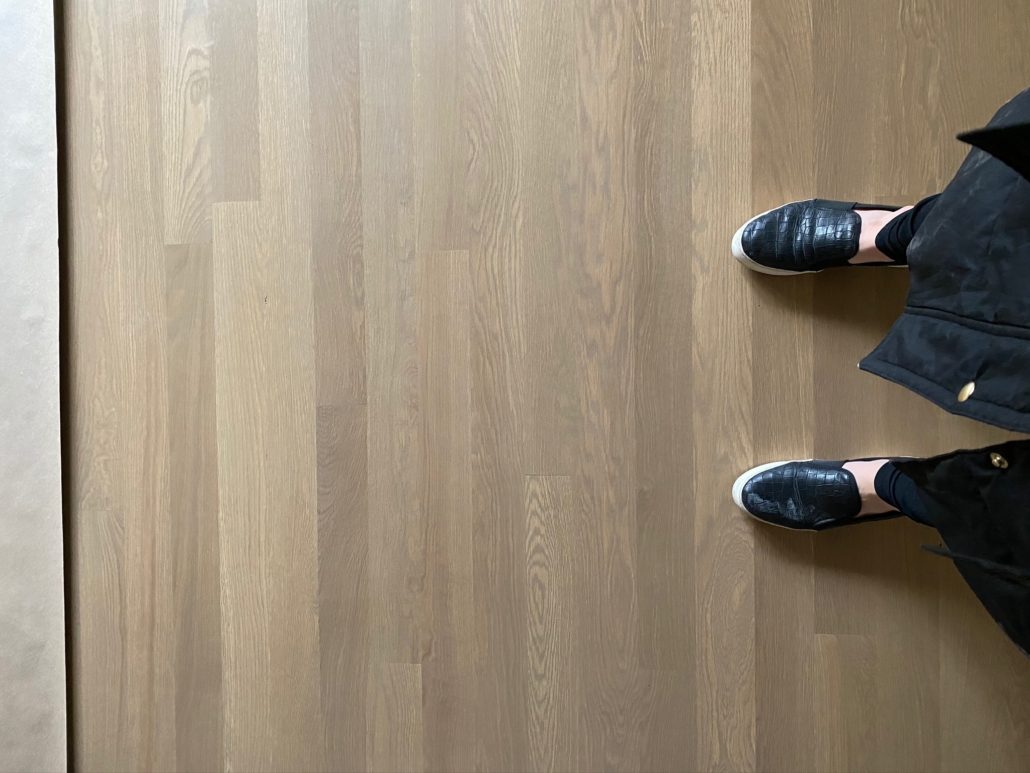
In the end, I went with a 50/50 mix of birch and sand dune. It felt like the perfect combination of fresh and bright, while still being warm. This color has great staying power and will go with a variety of colors as the fads cycle through over the life of the home. Even though birch was my favorite color in the moment, I LOVE the birch/sand dune mix. It is so beautiful with the other finishes I have planned throughout the home.

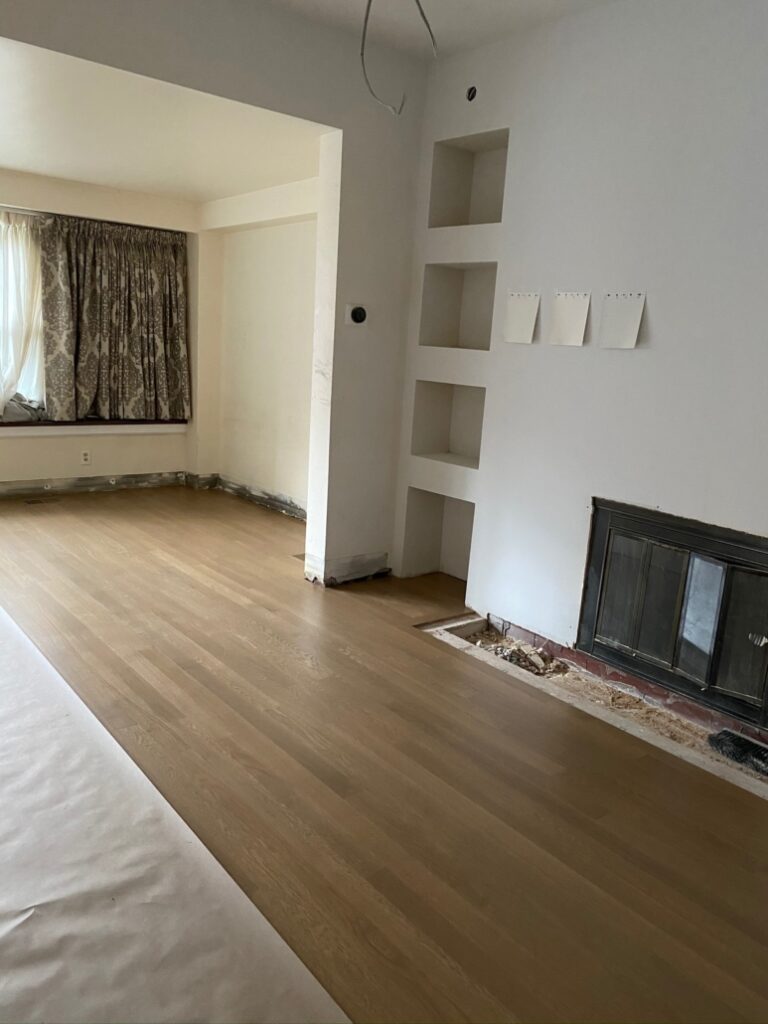
The final stain choice
Post-stain, I am so, so happy with the decision. The contractor paper we had down to protect the floors while the remodel was in full swing, just came up last week, and I absolutely adore the color. I love how they turned out.
More updates to come. Stay tuned!