Happy May! Today we’re going to spend some time jumping into the second level floor plan.
When we purchased #LugbillLanding, we knew that eventually we would end up renovating both the first floor and the second floor, not to mention the attic and the basement. We originally were going back and forth between phasing out the first or second floor, versus ripping off the bandaid and doing the whole project at once.
The logistics of phasing out the project would be very complicated with our 2 kids, so in the end we decided to go all in. Pre-kids, while renovating our last condo, we lived without a shower for a week. I don’t even want to imagine what that would look like now that we have kids! While we didn’t love the idea of spending so much money at one time, the alleviation of future headaches, coupled with the cost savings from doing the entire home renovation in one pass, led us to go big.
So, without further ado, let’s dive in!
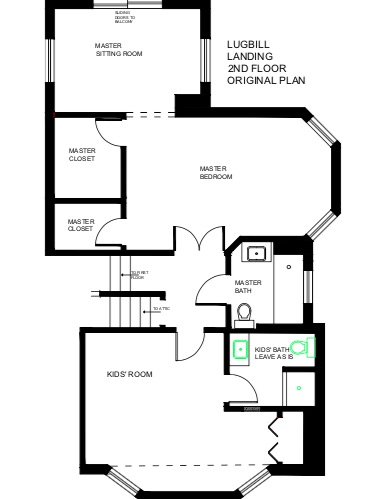
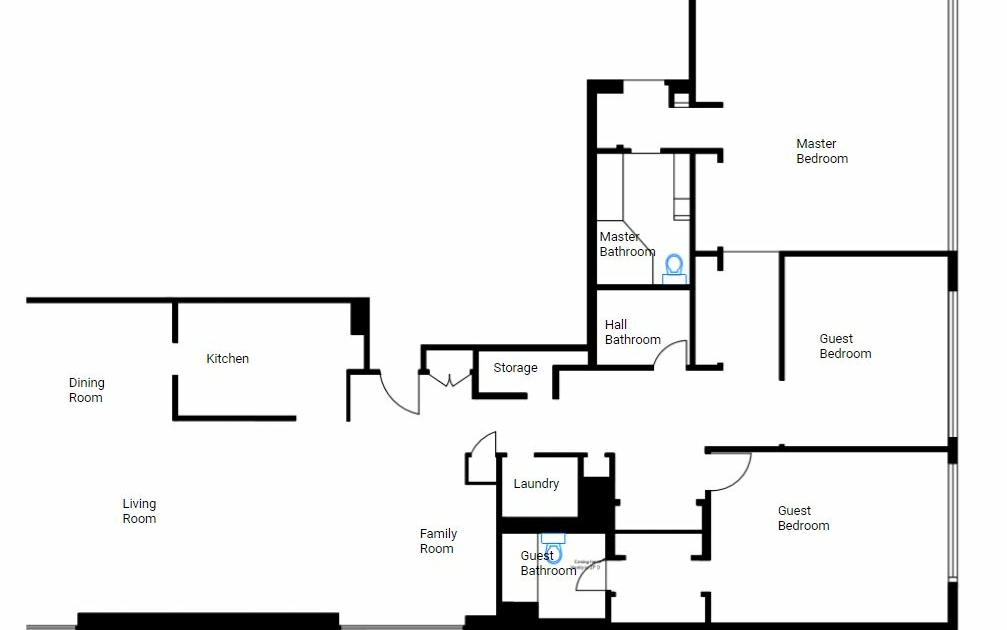
2nd Floor – Original Floor Plan
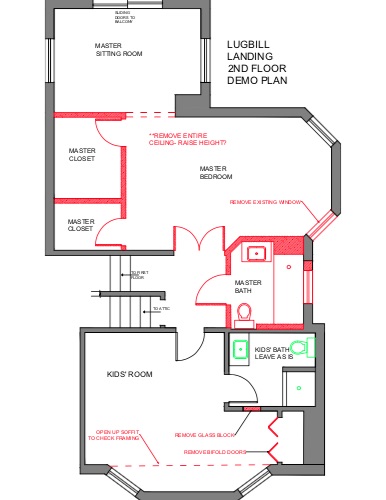
2nd Floor – Demo Plan
When we first walked up the creaky staircase during our initial visit with our realtor, there was a bathroom at the top of the stairs, with no true master bathroom.
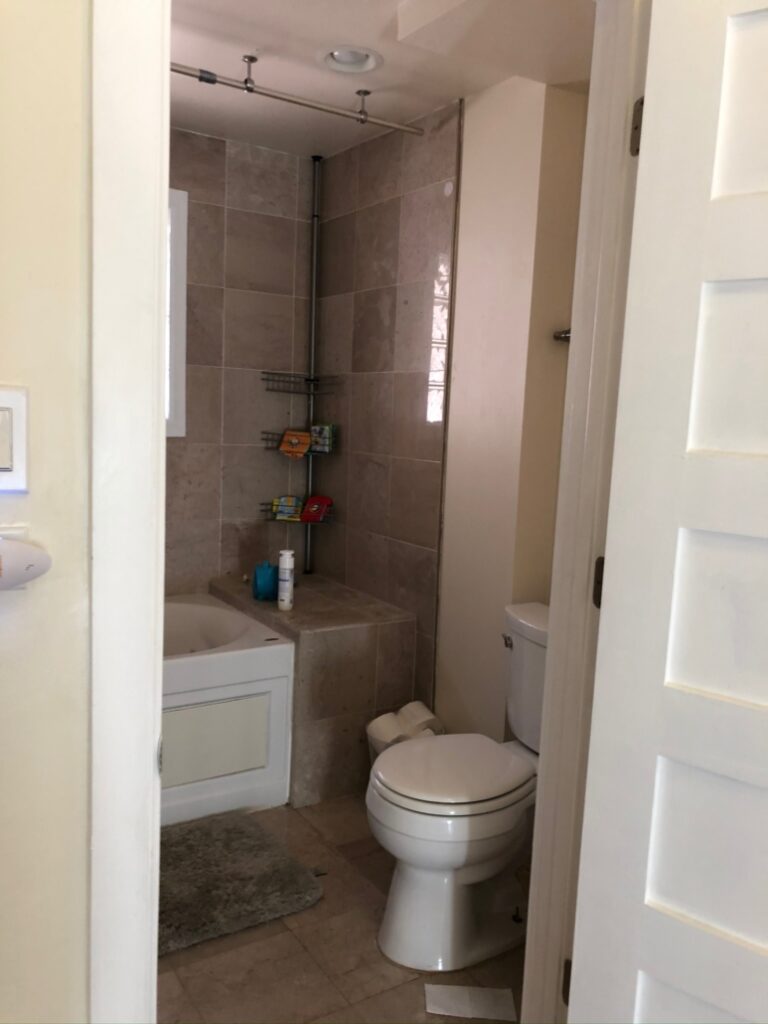
Original bathroom at the top of the stairs
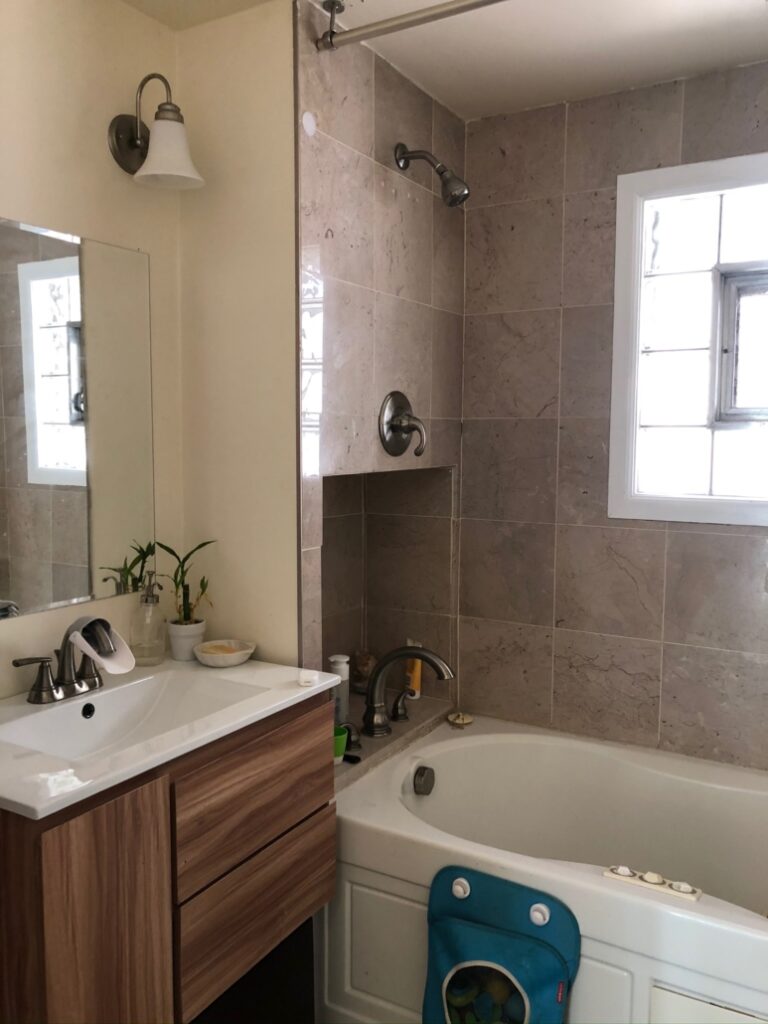
Original bathroom at the top of the stairs.
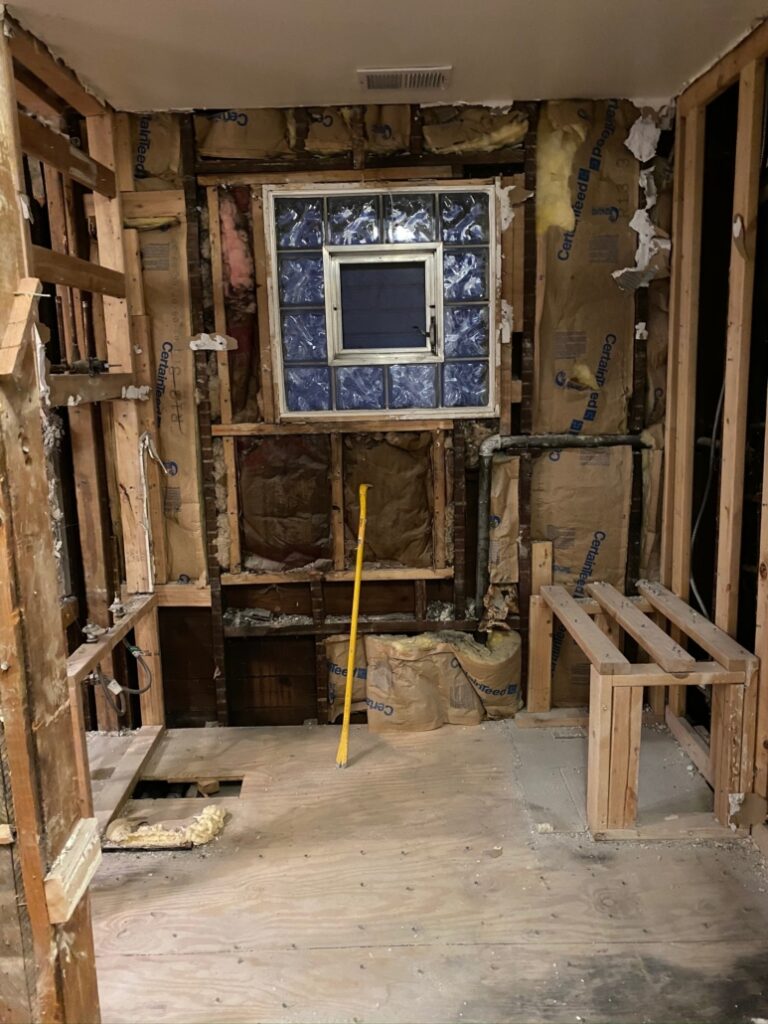
Original bathroom at the top pf stairs, post-demo
When we walked into the master bedroom, we saw a giant room with a sitting area. It felt very compartmentalized and dark with the location of the closets.
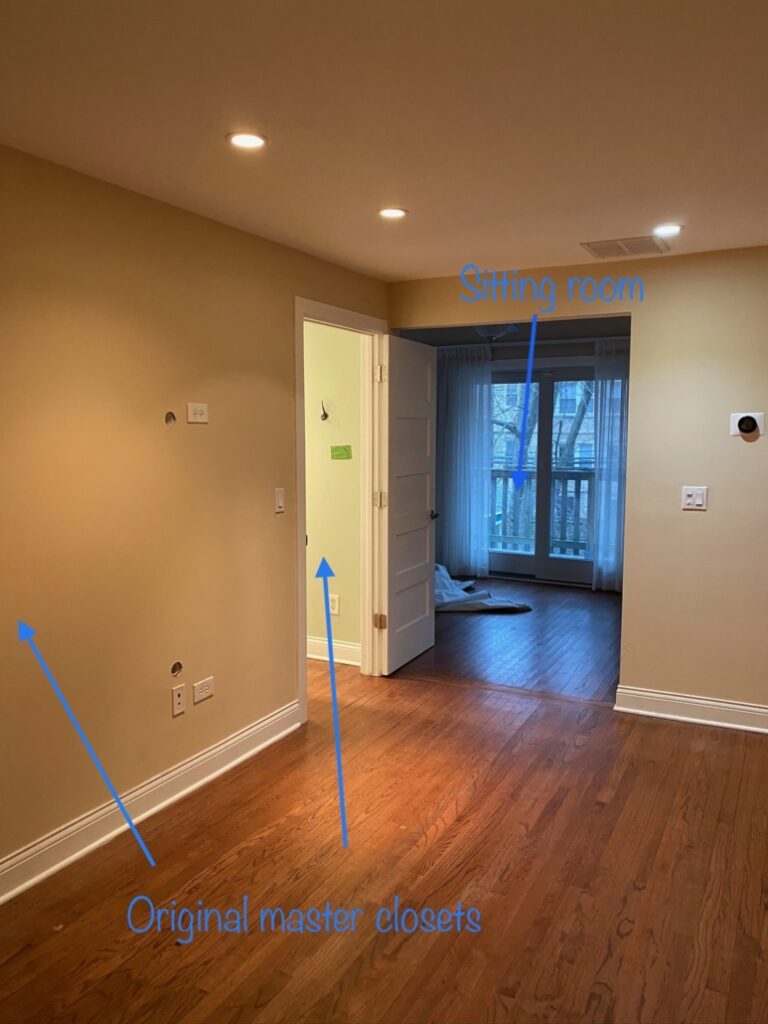
Original Master Bedroom Closets
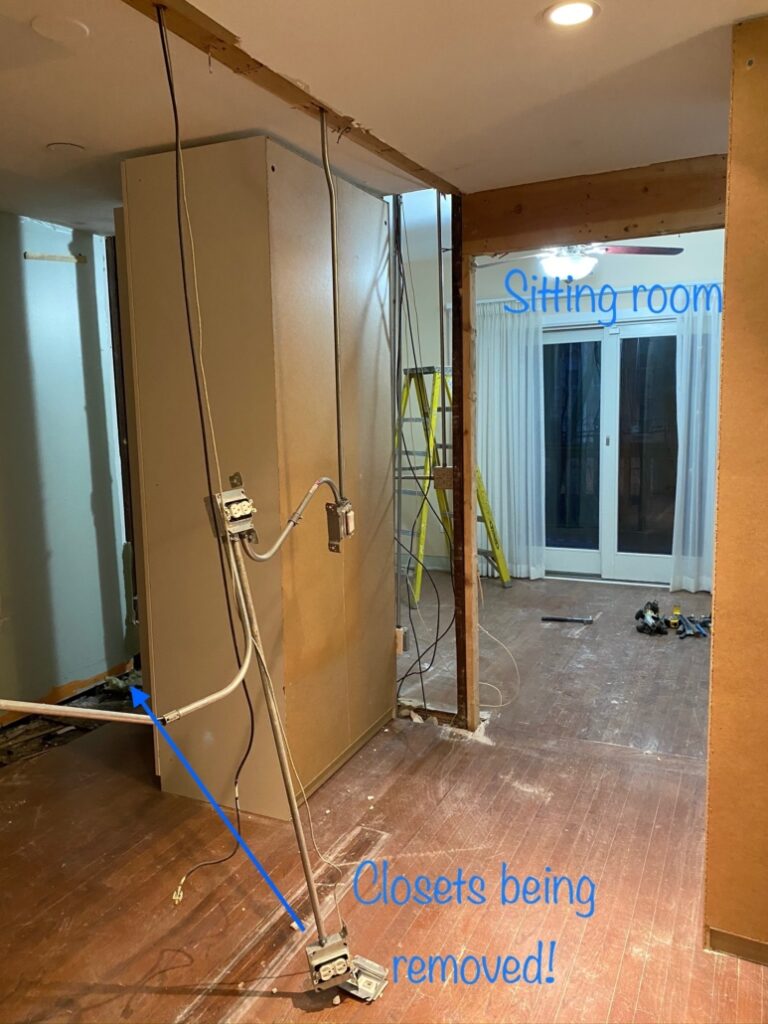
Original master bedroom closets during demo
The other room on this floor was the future bedroom for our two boys. It was giant and had a small ensuite bathroom. We liked this space as is, although we didn’t love that their bathroom didn’t have a bathtub. After 2.5 years of raising boys, I think it is safe to say that they play hard, with the dirt to show for it!
One of my favorite stages during a construction project is reworking the floorplan. The challenge of maximizing the space is like a complicated puzzle to me. In situations like this, my first step is to sketch out the existing floor plan and use white out over the existing interior walls. This gives me a baseline to work with. It feels like a blank slate with endless possibilities!
I often have a lightbulb moment when working on a new floor plan. For my 2nd level, that lightbulb moment happened when I decided to eliminate the existing closets and open up the whole master suite. The bathroom and closet layout immediately fell into place. I love the flow of the new floor plan, it is perfect for our needs!
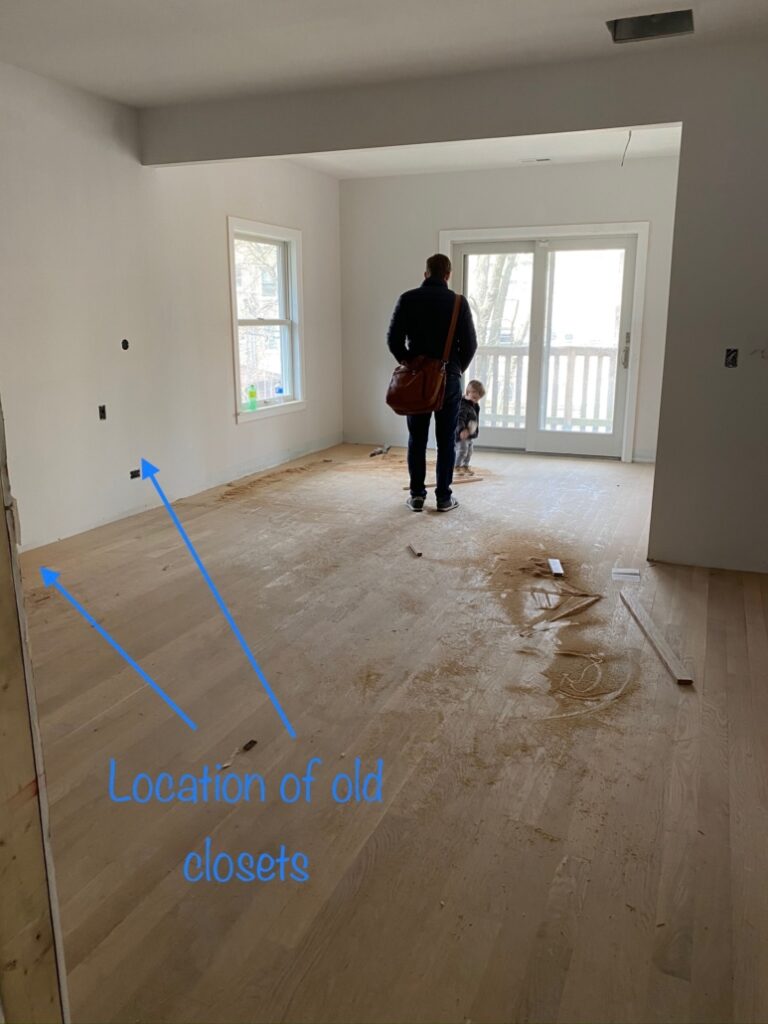
The space feels so much better already!
If you remember from my list of must-haves, an amazing master suite was top priority. Our previous condo had a great master suite, and I didn’t want to downgrade. A true master bathroom that is connected to the master bedroom was also non-negotiable for me.
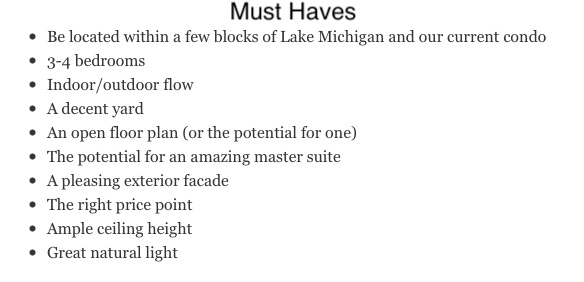
Erica’s must-haves list
Knowing that the activity level (and subsequently, dirt level of our two boys would only increase in the coming years, we knew we needed at least one bathtub in the house. I didn’t think it was worth the financial and space investment to add a tub to the kids’ current bathroom. I figured that we needed a tub for the young kid years, and having it in the master bathroom rather than their bathroom, wouldn’t be a huge inconvenience.
Prior to moving in, I was not a big bath person.Three weeks into living here, I may have had a conversion experience. It. Is. Amazing.
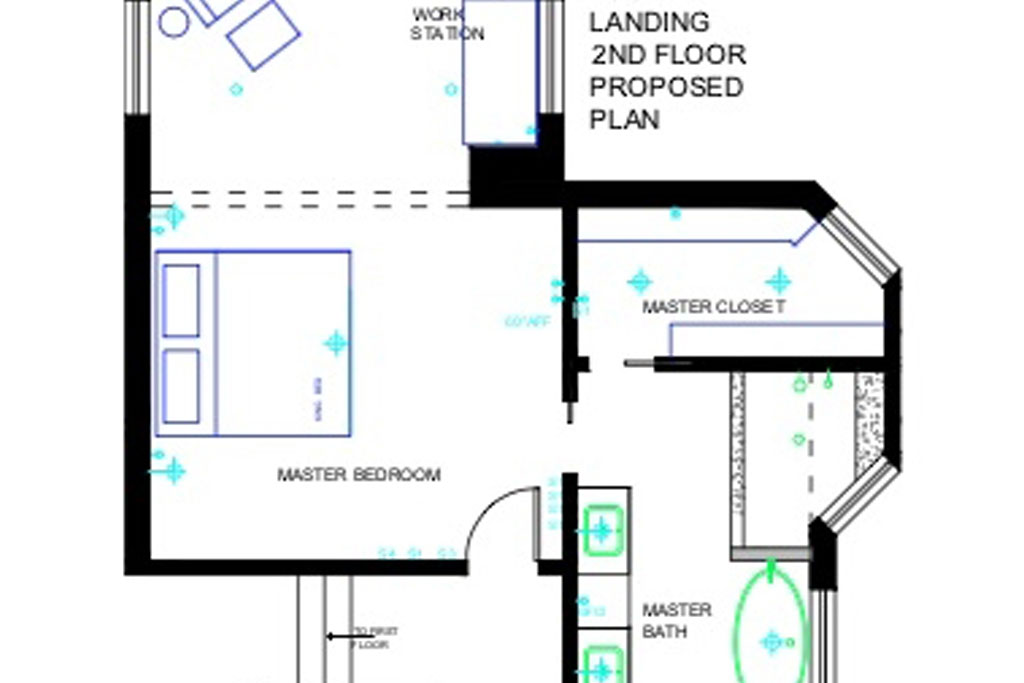
So – with those priorities in mind, here’s the new floor plan:
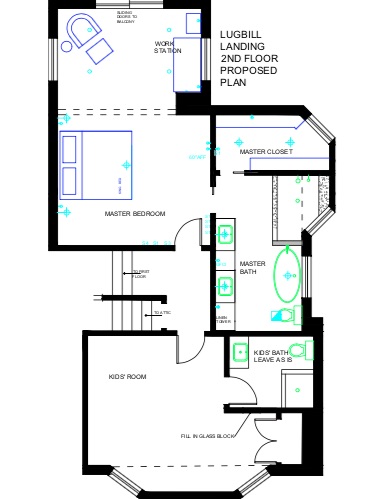
2nd Floor – New floor plan
So far, we are thrilled with how the second floor is coming together. We love the natural light in the master bathroom and bedroom and how open and airy the whole space feels.

New master bathroom layout during framing
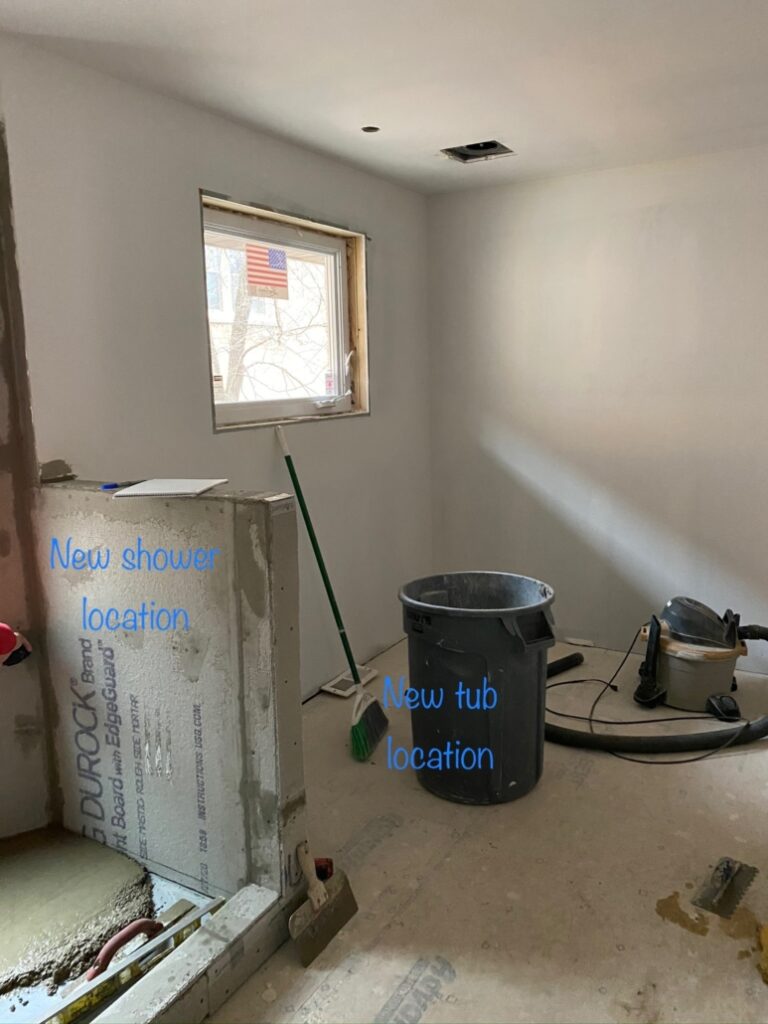
Prepping for tile!
Stay tuned to see what finishes we selected for the master bath. We took a few risks so are excited to see whether those bold decisions paid off. We can’t wait to share the 2nd floor with you as it comes to life!